« Previous -
Version 4/10
(diff) -
Next » -
Current version
J. Simmons, 06/23/2018 06:00 pm
Controller Assembly
Tools
- Holoseat Test Stand with computer to operate it
- Soldering iron with stand
- Helping hands
- Exhaust fan
- Flush snips
- Safety glasses
Materials
- Instant/super glue (prefer Loctite Super Glue Ultragel Control)
- Solder
- (1) HSC-01: Feather
- (1) HSC-02: Holoseat Controller Wing
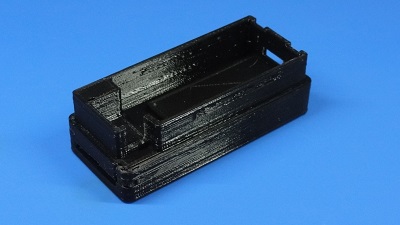
- (1) HSC-03: Controller Housing Base
- (1) HSC-04: Controller Housing Top
- (1) HSC-05: 12 pin header
- (1) HSC-06: 16 pin header
- (1) HSC-07: Holoseat Custom Key Cap
- (1) HSC-08: TRRS Wing
- (1) HSC-09: Keyswitch
- (1) HSC-10: Controller Housing Mounting Slot
Safety Issues
- Care must be taken when using the soldering iron, the tip is very hot
- Always wear safety glasses while working with soldering irons
- Avoid breathing in the soldering fumes, use a vent or hood if needed to provide adequate ventilation
Product
HS-02: Controller
Procedure
1. Prepare Mounting Slot
- ..
2. Solder Headers to Feather
TBD by Bryan
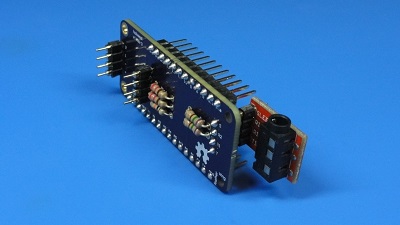
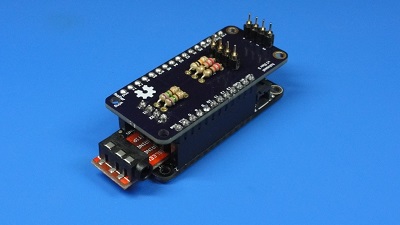
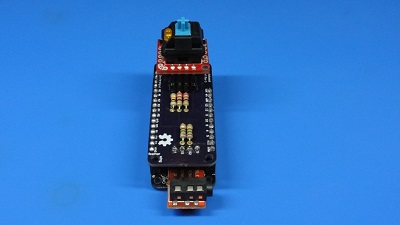
3. Assemble Controller Components
- Attach HSC-08: TRRS Wing to underside headers on HSC-02: Holoseat Controller Wing
Insert pic - Attach TRRS Wing + Controller Wing to Feather
Insert pic - Attach HSC-09: Keyswitch to Controller Wing
Insert pic
Test Controller
TBD by J. when test and firmware code is updated
Final Assembly
- Insert Feather + Wings into HSC-03: Controller Housing Base
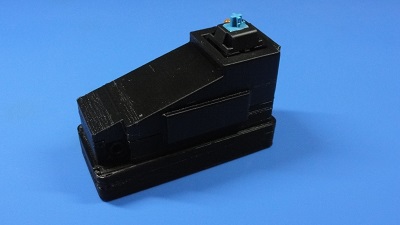
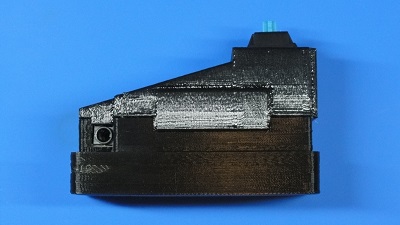
Insert Pic - Attach HSC-04: Controller Housing Top onto Controller Housing Base making sure the snap fit connection fully clicks and the inset over TRRS connector seats fully into the Controller Housing Base
Insert Pic - Attach HSC-07: Holoseat Custom Key Cap to Keyswitch
Insert Pic