« Previous -
Version 8/15
(diff) -
Next » -
Current version
J. Simmons, 12/31/2017 04:53 pm
Tone Ring Assembly
Tools
- Permanent Marker (prefer red Sharpie brand)
- Tray/Plate
- Small weight
Materials
- Instant/super glue (prefer Loctite Super Glue Ultragel Control)
- (1) 18PTR-01: 18 Pole Tone Ring Base
- (1) 18PTR-02: Tone Ring Cover
- (36) 18PTR-03: 1/8"x1/8"x1/16" N35 Neodymium Block Magnets
- Holoseat Test Stand
Safety Issues
- Take care when using the hot glue gun, especially on small objects, to avoid burns
- Use safety glasses when working with instant glue and avoid getting instant glue on skin
Product
HS-03: 18 Pole Tone Ring
Procedure
1. Prep Magnets
- Stack the (36) 18PTR-03: 1/8"x1/8"x1/16" N35 Neodymium Block Magnets into a single row face to face
- Select an end of the stack to mark the faces on to identify one of the poles on all 36 magnets
- Use the permanent marker to place a dot on the selected face of the top magnet
INSERT PIC - Taking care to preserve the orientation of the stack of unlabeled magnets, remove the newly labeled magnet and place marked face up on a plate with space around it to avoid it becoming connected to other magnets
- Repeat until all magnets have been marked
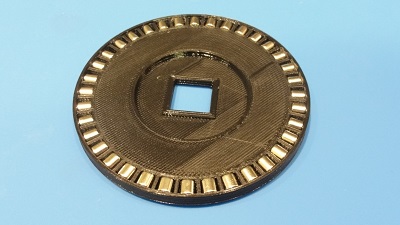
2. Place Magnets
- Select a magnet to attach to 18PTR-01: 18 Pole Tone Ring Base
- Place a small dot of instant glue into one of the slots on the tone ring base and place the magnet marked face out in the slot
- Select another magnet
- Skip a slot in the tone ring base, repeat the placement step
INSERT PIC - Repeat these steps(18) magnets have been placed on the tone ring base with marked face out and with empty slots between them
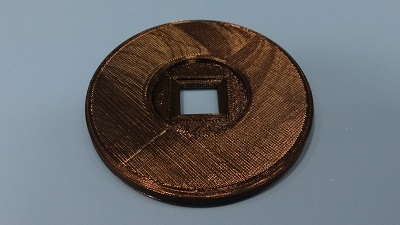
INSERT PIC - Go back and repeat the magnet placement steps, this time with the marked face in, for each of the empty slots (they should be magnetically attracted to the slot in this orientation)
INSERT PIC - Let the glue cure for at least 1 hour
3. Verify Magnet Placement
- Set up the Holoseat Test Stand
- Ensure the calibrated sensor is attached to the sensor controller
- Ensure the power and USB connections are all configured according to the test stand operating instructions
- Place the new tone ring onto the tone ring adapter
- Run test
- Clear the sensor stats
- Run the stepper motor 1 revolution, in a CW direction, at 30 RPM
- Get the sensor stats and verify the number of reported poles is 18
- Remove the tone ring from the tone ring adapter
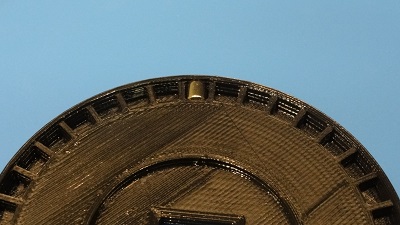
4. Complete the Tone Ring
- Apply beads of instant glue to the top face of the 18PTR-01: 18 Pole Tone Ring Base
- Align and place the 18PTR-02: Tone Ring Cover over the 18PTR-01: 18 Pole Tone Ring Base
- Press and hold with a small weight to secure the cover to the base
- Wait at least 1 hour