« Previous -
Version 3/15
(diff) -
Next » -
Current version
J. Simmons, 12/30/2017 01:41 am
Tone Ring Assembly
Tools
- Permanent Marker (prefer red Sharpie brand)
- Hot glue gun
- Tray/Plate
Materials
- Hot glue sticks
- Instant glue (prefer ??)
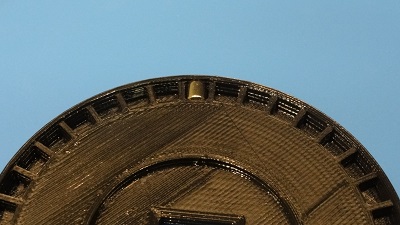
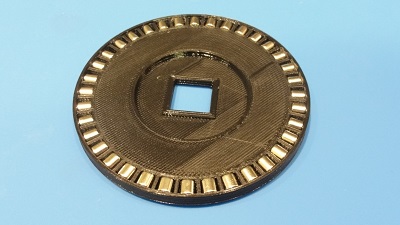
- (1) 18PTR-01: 18 Pole Tone Ring Base
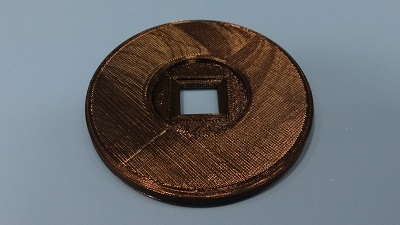
- (1) 18PTR-02: Tone Ring Cover
- (36) 18PTR-03: Magnets (add specs!)
Safety Issues
- Take care when using the hot glue gun, especially on small objects, to avoid burns
- Use safety glasses when working with instant glue and avoid getting instant glue on skin
Product
HS-03: 18 Pole Tone Ring
Procedure
1. Prep Magnets
- Stack the (36) 18PTR-03: Magnets into a single row face to face
- Select an end of the stack to mark the faces on to identify one of the poles on all 36 magnets
- Use the permanent marker to place a dot on the selected face of the top magnet
INSERT PIC - Taking care to preserve the orientation of the stack of unlabeled magnets, remove the newly labeled magnet and place marked face up on a plate with space around it to avoid it becoming connected to other magnets
- Repeat until all magnets have been marked
2. Place Magnets
- Warm up the hot glue gun
- Select a magnet to attach to 18PTR-01: 18 Pole Tone Ring Base
- Place a small dot of hot glue on unmarked side of the selected magnet and place into one of the slots on the tone ring base
- Select another magnet
- Place a small dot of hot glue on the marked side of the selected magnet and place into the next slot on the tone ring base adjacent to the first magnet
- Repeat these steps, alternating magnet facing until all (36) magnets have been placed on the tone ring base
3. Verify Magnet Placement
- ...
4. Complete the Tone Ring
- ...