« Previous -
Version 6/8
(diff) -
Next » -
Current version
J. Simmons, 10/14/2011 01:47 pm
Workbench Assembly Instructions
Assemble the top
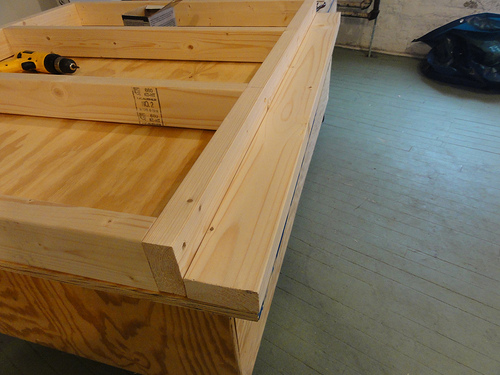
- Mark framing (2x Part A) at 16" and 32" so you can line up the top's framing
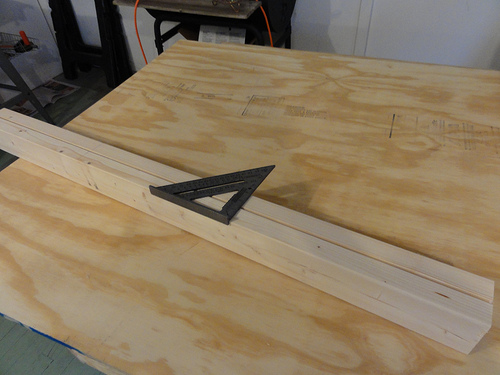
- Assemble the top's frame (4x Part B between 2x Part A) using 2-1/2" sheetrock screws
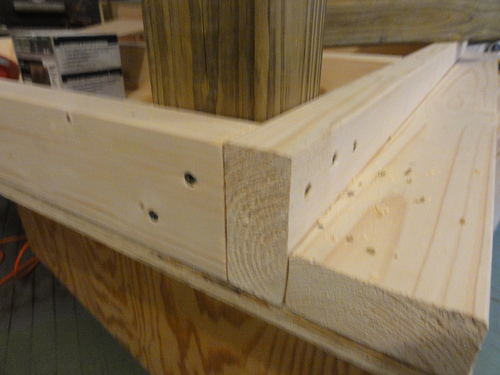
- Align the clamp edges on the end of the short sides (this should create a frame that is 4'x4')

- Use clamps to hold the clamp edges in place and attach them to the from using 2-1/2" sheetrock screws (screw from the inside of the frame into the clamp edge)
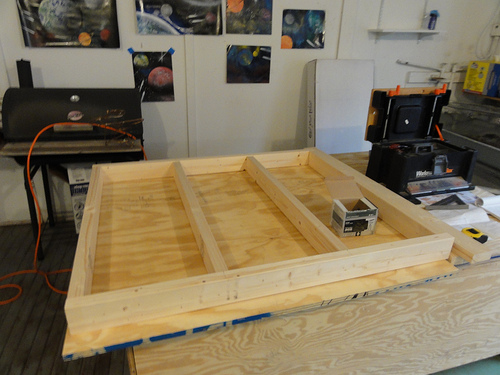
- Turn the frame over and place the plywood top (Part D) on the top's frame.

- Attach the plywood top to the frame with 2" sheetrock screws
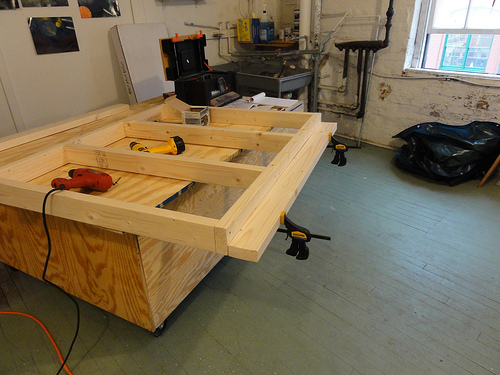
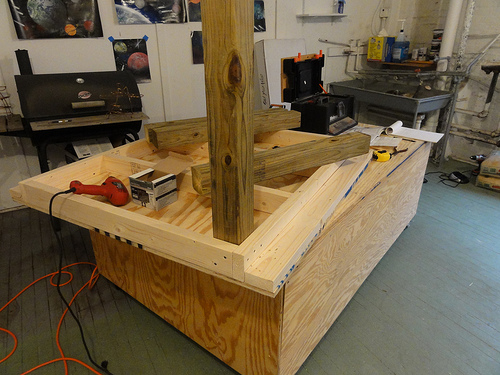
Attach the legs
- Turn the top over and attach the four legs (Part C) to the frame using 4 2-1/2" sheetrock screws.

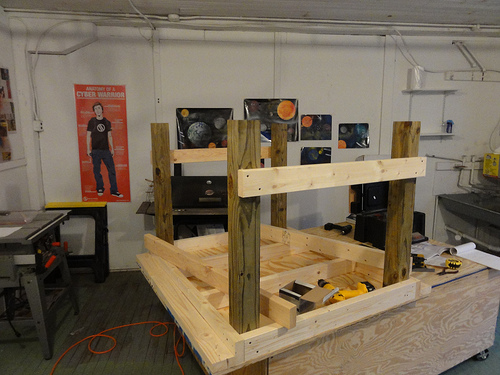
- Measure 10" down from the "bottom" of the legs (currently at the top of the assembly) and mount 2 supports (Part B) across from one another using 2-1/2" sheetrock screws.

- Attach the last 2 supports (Part A) on the other two sides of the legs next to the first two supports using 2-1/2" sheetrock screws.
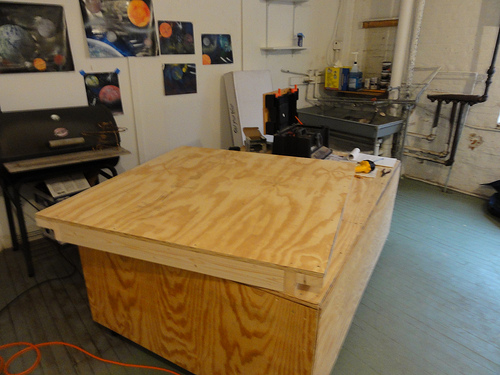
Turn over the table and enjoy
step1_1.jpg
(90.1 kB)
J. Simmons, 10/14/2011 12:45 am
step1_2.jpg
(103.1 kB)
J. Simmons, 10/14/2011 12:45 am
step1_3.jpg
(100.3 kB)
J. Simmons, 10/14/2011 12:45 am
step1_4.jpg
(118.1 kB)
J. Simmons, 10/14/2011 12:45 am
step1_5.jpg
(107.4 kB)
J. Simmons, 10/14/2011 12:52 am
step1_6.jpg
(105 kB)
J. Simmons, 10/14/2011 12:52 am
step2_1.jpg
(124.6 kB)
J. Simmons, 10/14/2011 12:52 am
step2_2.jpg
(89.7 kB)
J. Simmons, 10/14/2011 12:52 am
step2_3.jpg
(111.3 kB)
J. Simmons, 10/14/2011 12:52 am
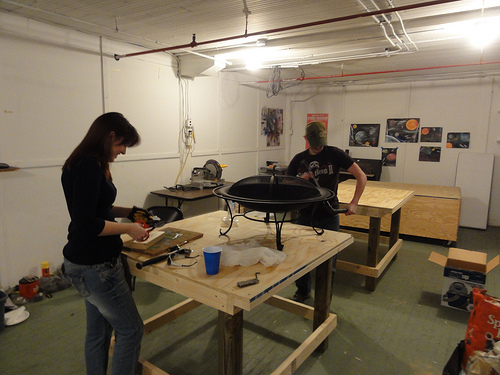
workbench_in_use.jpg
(109.9 kB)
J. Simmons, 10/14/2011 12:54 am
Also available in:
HTML
TXT